← Gallery Walls & Art Display
Planning a gallery wall with mixed frames
Choose pieces, settle the overall shape, mix frame styles with intention, and lay everything out before a single nail goes in.
- Time
- 1–2 hours to plan
- Level
- Beginner
You'll need
- Your artwork and frames
- Tape measure
- Kraft paper or newspaper
- Painter's tape
- Pencil and scissors
01Choose the pieces
- —Start with one anchor piece — usually the largest or most important — and build around it.
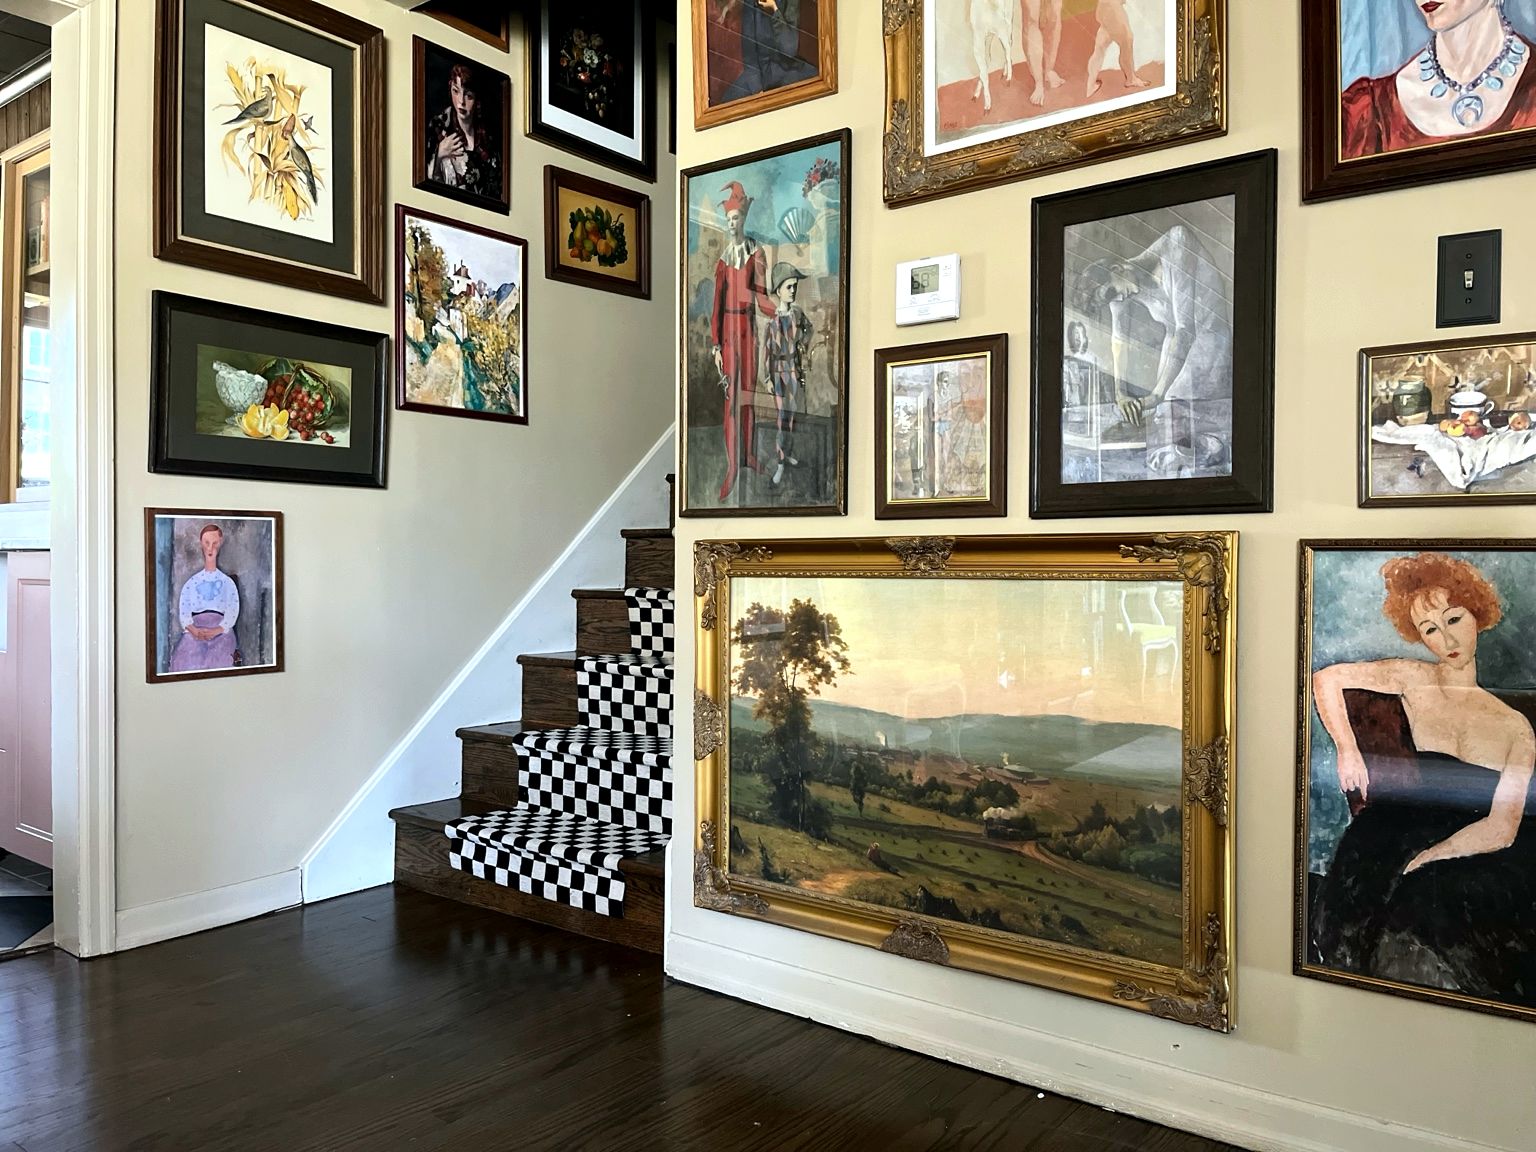
- —Give the group a thread: a shared color, subject, period, frame finish or mat color. One shared element is enough for mixed collections.
- —Include a range of sizes. A wall of identical small frames reads as busy; one or two larger pieces give it weight.
- —Objects (a mirror, plate, small shelf) can sit in the arrangement if they are flat and securely hung.
02Decide the overall shape
- —Grid: identical frames, equal gaps. Calm and formal.
- —Salon style: mixed sizes fitted together inside an imaginary rectangle. Collected and layered.
- —Along a line: tops or centers aligned on one horizontal line. Good above a sofa or along a stair.
- —Above furniture, keep the group about two-thirds the width of the piece below it.
03Frame styles and finishes
- —Mixed finishes look intentional when they repeat: for example two gilt, two black and one wood, spread across the group.
- —Wide mats make small or modest works feel more important and give a unifying color.
- —Ornate frames suit old prints and oil paintings; thin frames keep contemporary or graphic pieces quiet.
- —Matching mats with varied frames, or matching frames with varied art, are both easy ways to unify.
04Lay it out before hanging
- 1.Arrange the frames on the floor in front of the wall until the balance feels right. Photograph it.
- 2.Trace each frame onto paper, cut out, and label it with the piece and the hanging point.
- 3.Mark the hanging point on each template: measure from the top of the frame down to the taut wire or the D-ring.
- 4.Tape the templates to the wall and live with them for a day. Adjust freely.
- 5.When happy, hang through the marked points, then remove the paper.
TipThe Gallery Wall Designer does the same thing to scale on screen and prints a measurement table for every frame.
General guidance for beginners. Always follow the manufacturer's instructions for products you use, and ask a qualified professional where safety is a concern.